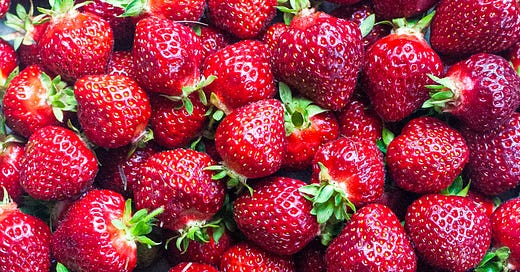
Every early June, I begin stalking the social media pages of my favorite fruit farms for their U-Pick start date announcements. They inform the rhythm of our summer: strawberries, cherries, blueberries, raspberries, gooseberries, currants, peaches, plums, and finally apples and pears to usher us into fall.
I get most excited about strawberries, because they’re typically the first juicy thing we get to pick (though this year we discovered a local farm offering haskap picking, which now means our summer fruit intake can start even earlier!). Last week Ontario strawberry season opened, and we promptly went out and picked about 30 pounds of strawberries. That may sound like a lot; but I always say that if you want to see money disappear before your eyes, just stick a bucket of berries in front of my kids.
To be fair, I used my share. I made an extra large version of my annual fraisier, which contained probably 2 pounds of berries, and also squirreled away another several pounds in the freezer for making strawberry ice cream.
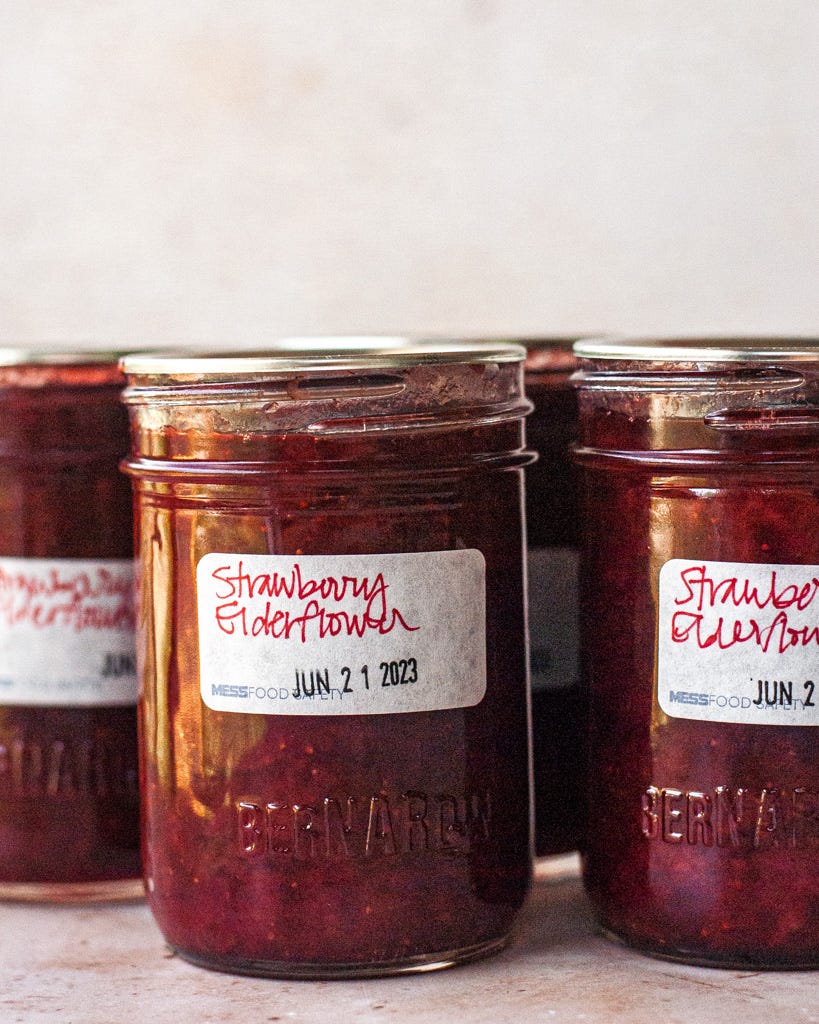
And then there’s jam, my other summer ritual — an attempt to capture a little of summer’s bounties for the long (really long) winter ahead. Cracking open a jar of glossy strawberry jam has a way of brightening a snowy day. I also appreciate the grounding, almost meditative quality of the jam-making process. My “jam sessions” are typically early morning or right before bed when the house is quiet. I can focus on the look and sounds of the batch at hand without worrying about curious little hands grabbing at hot pots or jars.
I like to make jam in small batches with no added pectin, relying on the natural set from fruit + sugar + acid. Admittedly, strawberries can be challenging using this method as they’re a relatively low-pectin fruit. I also use less sugar compared to most commercial recipes (~45% compared to 80-100%). As a result, my strawberry jam sets a bit softer than store-bought varieties, which I like (but it’s still plenty thick enough to spread on toast or spoon atop a scone).
A word about preserving: I used to can my jam in a hot water bath; but ever since reading master preserver Camilla Wynne’s fabulous book Jam Bake, I’ve started using the hot jar + inversion method below and haven’t looked back. (She also has a detailed article on this method online and please note, this method is for jams specifically — not other canned preserves.) If you prefer to use a water bath, please follow instructions from a reliable source. You can also forgo the canning and store your jam in the refrigerator, where it should last many months.
Keep reading with a 7-day free trial
Subscribe to Cook Til Delicious to keep reading this post and get 7 days of free access to the full post archives.


