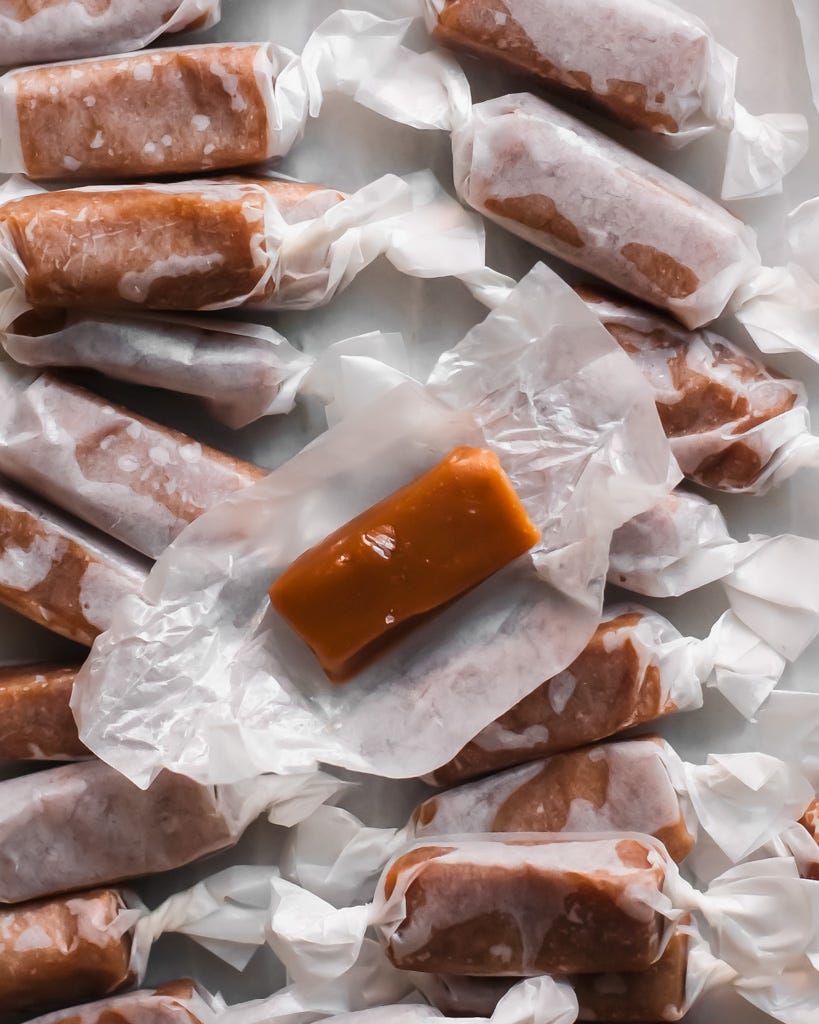
Don’t tell the cookies, but my favorite holiday treats to make are the confections. I don’t dabble much in candymaking for the rest of the year, so whipping up a batch of peppermint marshmallows or nougat instantly conjures up the festive feels. Chewy salted caramels are one of the first candies I ever learned to make; and this particular recipe is one I’ve been gently tweaking for years to strike my ideal balance of salted caramel flavor and rich, creamy texture. Made with just a handful of ingredients, they come together quickly and are perfect for last minute gifting.
Interestingly/confusingly, you don’t have to caramelize sugar to make chewy caramels — many recipes call for just mixing together all the ingredients in a pot and cooking it to the soft ball stage. Caramels made this way get their color from the maillard reaction, which occurs when amino acids (in this case, from the proteins in dairy products) combine with sugar and heat. Using this method, the mixture never gets hot enough to actually caramelize the sugar (which begins around 320F).
However, I prefer making chewy caramels using the two stage method: first caramelizing the sugar (I don’t use a thermometer for this part, just go by color), then adding the dairy products and cooking the entire mixture to the proper temperature. This way, the candies get a double dose of flavor from both sugar caramelization and the maillard reaction. For plain salted caramels, I take my sugar to a deep amber color to really coax out as much nutty richness as possible and balance out the overall sweetness.
Tips for success
As with all candymaking, using a candy or clip-on digital probe thermometer will give you the most consistent results. Most candy mishaps occur because the sugar isn’t cooked to the right temperature. You can check that your thermometer is accurate by ensuring it registers 212F in a pot of boiling water. Also, make sure the tip of your thermometer probe is fully submerged in the mixture and not hitting the bottom of your pot, or your temperature reading will not be accurate.
For the amounts listed in the recipe, I use a ~3 quart/3 liter heavy-bottomed, high sided saucepan. The mixture will bubble up considerably when you add the dairy, so choose something that will allow for at least 4x expansion to avoid sugar spillovers. I also recommend using a light-colored pan so you can accurately judge the color of the caramelizing sugar.
For thick, roughly 1” high caramels, pour your mixture into an 8”x8” pan. If you prefer thinner candies, either a 9”x9” or quarter-sheet (8”x12”) pan works nicely.
To wrap the candies, I recommend using either individually cut twisting wax paper or cellophane wrappers. When I first started making caramels I would cut out little pieces of parchment or wax paper and they would frequently rip when I tried to wrap the candies — so annoying! Buying the proper confectionary paper was a game changer and made the wrapping process much more enjoyable (doubly so if you recruit a friend and pop on a cheesy Christmas movie).
To clean your pot after making caramels, simply add some water to the pot and boil it to melt away the remaining sugar.
Keep reading with a 7-day free trial
Subscribe to Cook Til Delicious to keep reading this post and get 7 days of free access to the full post archives.


