
Hot Cross Baos
Seasonally appropriate gai mei baos, IYKYK

Happy Easter week, friends! Around this time of year I see so many beautiful versions of Hot Cross Buns and always want in on the action. I made some traditional-ish ones a couple times but TBH my family isn’t a big fan of that flavor profile; and I would end up eating them all. (Not the worst problem in the world, but still…).
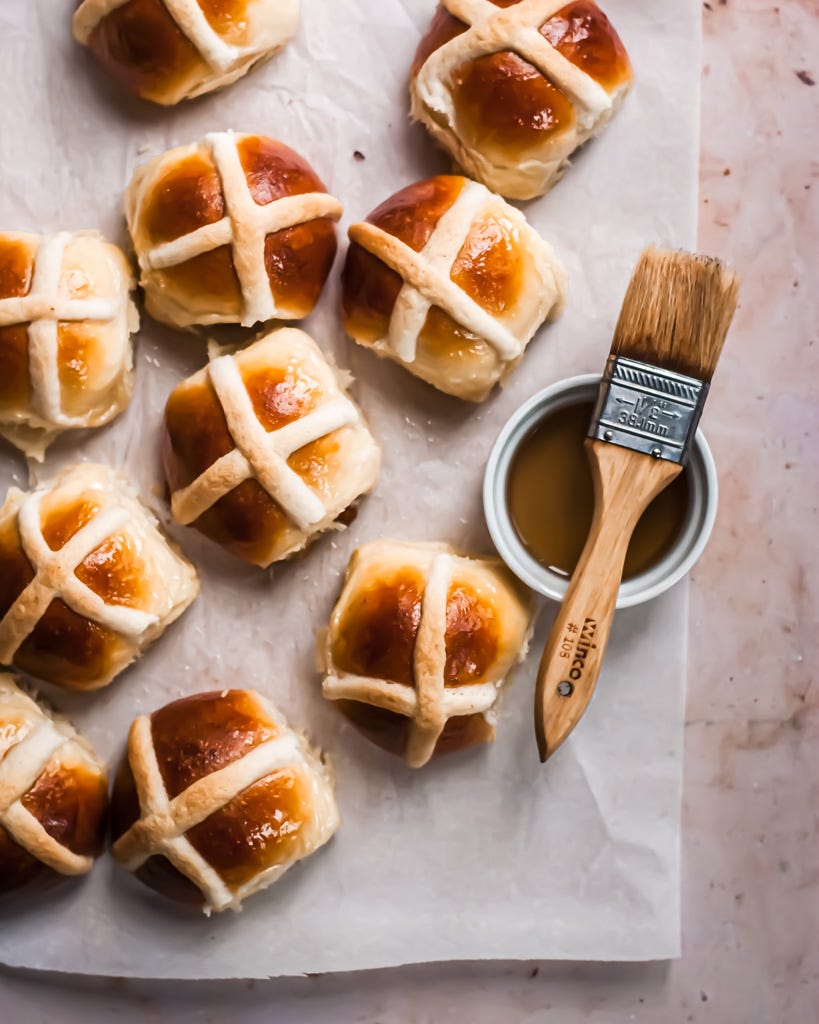
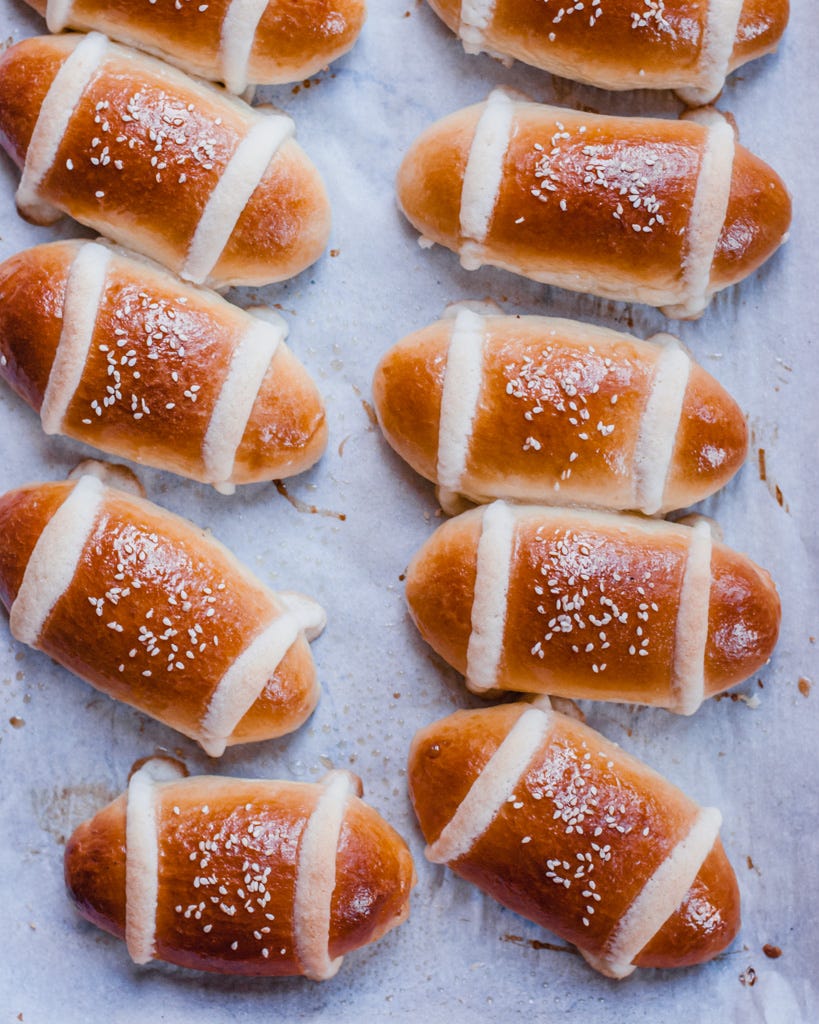
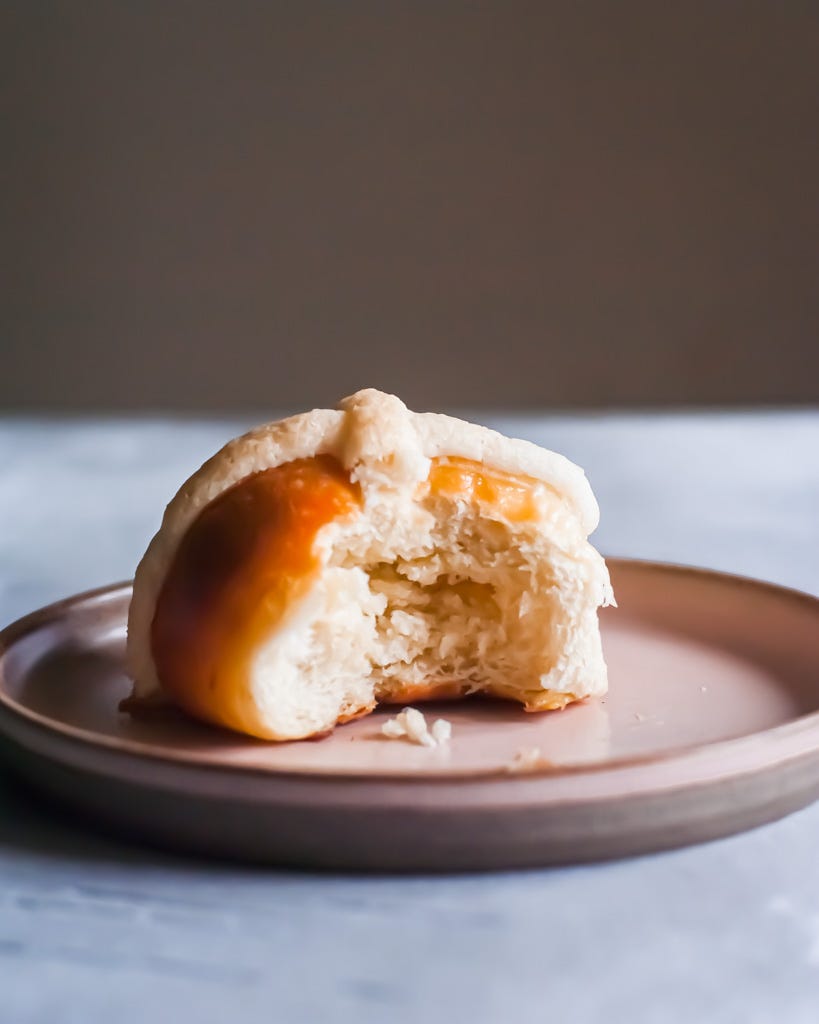
Anyways, last year I came up with the idea to use my well-loved recipe for gai mei baos (Chinese bakery style coconut-filled buns), but just “repackage” them as HCB. If you’re not familiar with gai mei baos, they are milk bread buns filled with a buttery coconut filling. They’re typically shaped as oblong buns and have lines made from a cookie-esque dough piped on either end:
Anyways, you can see why they translate well to hot cross buns! These have now been declared the official family way to make HCB; and I’m not sad about it as they are truly one of my favorite things to make and eat.
This recipe is from my book, Baked to Order, though I have since then made some tiny tweaks to my process as included below. As a bonus for paid subscribers, I’m also including my adjustments to make these baos using an extra-delicious “hybrid” dough with both sourdough starter and yeast (my favorite, and super versatile for all your enriched baking needs!). Thank you so much for your support!
Hot Cross Baos
Makes 12 buns | Adapted from Baked to Order
Ingredients
For the tangzhong
25g flour (bread, all-purpose, or wholegrain will work)
125g whole milk
For the dough
All of the tangzhong
63g heavy cream, cold
63g whole milk, cold
1 large egg (~50g), cold
6g instant yeast
46g granulated sugar
21g nonfat milk powder
7g kosher salt
225g bread flour
125g all-purpose flour
56g unsalted butter, at room temperature
For the filling
168g unsalted butter, at room temperature
75g granulated sugar
¼ tsp kosher salt
47g cake flour
56g milk powder
90g unsweetened desiccated coconut
For the Topping and Finishing
63g unsalted butter, at room temperature
40g granulated sugar
60g (scant ½ cup) cake flour
1 egg, whisked with 1 tsp milk or water and a pinch of salt, for egg wash, divided
Simple syrup or warmed honey
Method:
Make the Tangzhong: In a small saucepan, whisk the flour and milk together until smooth. Cook over medium-low heat, whisking constantly, until the mixture thickens enough for the whisk to leave lines on the bottom of the pan, about 5 minutes. Transfer the tangzhong directly to the bowl of a stand mixer.
Mix the Dough: Add the cream, milk, and egg to the tangzhong and stir briefly to combine. Add the yeast, milk powder, and sugar. Stir to combine. Finally, add the flours and salt. Using the dough hook, mix on medium low until the dough is smooth but still tacky, about 5-7 minutes. Cover with a towel and let rest 5 minutes.
Turn the mixer to low and add butter about 1 tablespoon at a time, incorporating each batch before adding the next. Turn the speed up to medium and continue kneading until the dough is smooth and supple and passes the windowpane test, about 10 minutes.
Shape the dough into a smooth ball and transfer to a clean, lightly oiled container. (Note: at this point you can refrigerate the dough overnight; bring to room temperature for about 30 minutes before dividing and shaping.) Cover and let rise at warm room temperature, 78 to 80°F (26 to 27°C) until doubled, about 60 to 90 minutes.
While dough is proofing, make the filling and topping.
Make the Filling and Topping: To make the filling, cream together the butter, sugar, and salt until well combined, about 2 to 3 minutes. Add the cake flour, milk powder, and coconut and mix to combine. Divide the mixture into 12 equal portions, about 38g each. Roll each portion into a ball and press lightly to flatten. Cover until ready to use.
To make the topping, cream together the butter and sugar until smooth. Add the cake flour and mix well. Transfer the mixture to a re-sealable or piping bag and snip off a corner for piping.
Fill, shape, and bake the buns: Transfer the proofed dough to a clean floured surface. Gently deflate and divide the dough into 12 equal portions. Shape into smooth balls. Cover with lightly oiled plastic wrap and let rest for 15 minutes. Meanwhile, line a large baking sheet with parchment paper.
To shape a bun, flatten or roll a piece of dough into a circle about 5” wide. Place a portion of filling in the middle. Pull the edges of the dough over the filling and pinch well to seal —make sure to really pinch tight so the filling doesn’t leak out during baking! Place the ball seam side down on a clean, non-floured surface and cup your hand over it. Press firmly down while rotating your hand in a circular motion to tighten the surface of the dough. Transfer the shaped roll to the prepared sheet, seam side down. Repeat with remaining dough. Place the shaped rolls closely together in a 3x4 grid; the rolls will grow into each other during proofing, creating pull-apart rolls with soft sides. (Note: You can watch me shape these over on Instagram.)
Once all the buns are shaped, brush with the egg wash and cover with lightly oiled plastic wrap. Let proof at warm room temperature, 78 to 80°F (26 to 27°C) until noticeably puffy, about 45 to 60 minutes. Meanwhile, preheat the oven to 400°F (200°C) with a rack in the middle.
Right before baking, lightly brush the buns with a second coat of the egg wash. Snip a 1/4” hole off the end of the piping bag with the topping. Pipe crosses over the tops of the buns. (Tip: you can microwave the topping VERY briefly — about 5 seconds — if needed to make it easier to pipe, or warm it between your hands.)
Bake for about 18 to 20 minutes, or until golden brown. Remove from the oven and transfer to a wire rack. Brush the tops with simple syrup or warmed honey, if desired, for an attractive bakery-style finish. Cool for about 10 minutes before serving. Buns are best slightly warm from the oven. Store leftovers for 2 to 3 days in a plastic bag; microwave briefly to restore their soft texture.
Baker’s Notes
Desiccated coconut provides the best texture for the filling—it is finer than regular shredded coconut. If you can’t find desiccated coconut, pulse an equal weight of shredded coconut in a food processor until fine.
Paid Subscriber Bonus!
As a bonus for paid subscribers, I’m sharing my recipe adjustments to make these baos with a “hybrid” dough using sourdough starter and yeast. This is my favorite way to make them!
