Welcome to the Cook Til Delicious newsletter, the space where I’m talking about the baking and baking-adjacent topics currently occupying my brain. If you’d like to receive the newsletter directly to your inbox, subscribe for free!
If you’d like to directly support the work that goes behind developing and testing all the recipes on the newsletter and the blog, consider upgrading to a paid subscibers. Paid subscribers also receive access to extra content, such as chats/Q&A’s/exclusive recipes, such as this mile high lemon meringue tart or these epic egg white brownie with a crunchy feuilletine layer and chocolate ganache!
Thank you so much for your support.
I am not a crafty mom. My house and I are still scarred from the paint incident of 2021, in which one of my children used some brick siding as a canvas. My kids tap Dad if they want a decent drawing of something (i.e. non-stick-figure). I think my craftiness peaked somewhere in late elementary school, with my diorama of different friendship bracelet styles.
I do, however, practice The Baking Arts and often bring my kids along for the ride. We make simple things together, like my sourdough discard chocolate cake or a batch of funfetti rice krispie treats. They’ve now taken over banana bread duties (my main job is now to break up any arguments about whose turn it is to mash the bananas). Though once in awhile I’ll break out a piping bag, during kid-centered baking I try to minimize equipment for simplicity’s and sanity’s sake.
Every so often, I get the urge to do some crafty baking *for myself.* (By crafty baking I mean something more elaborate and fancy than I’d normally do, usually involving multiple colors and icing bags and piping tips, like macarons or this buttercream flower cake.) Once I’ve cleaned up the crafty bake desire is pretty well quenched for the next 6-12 months.
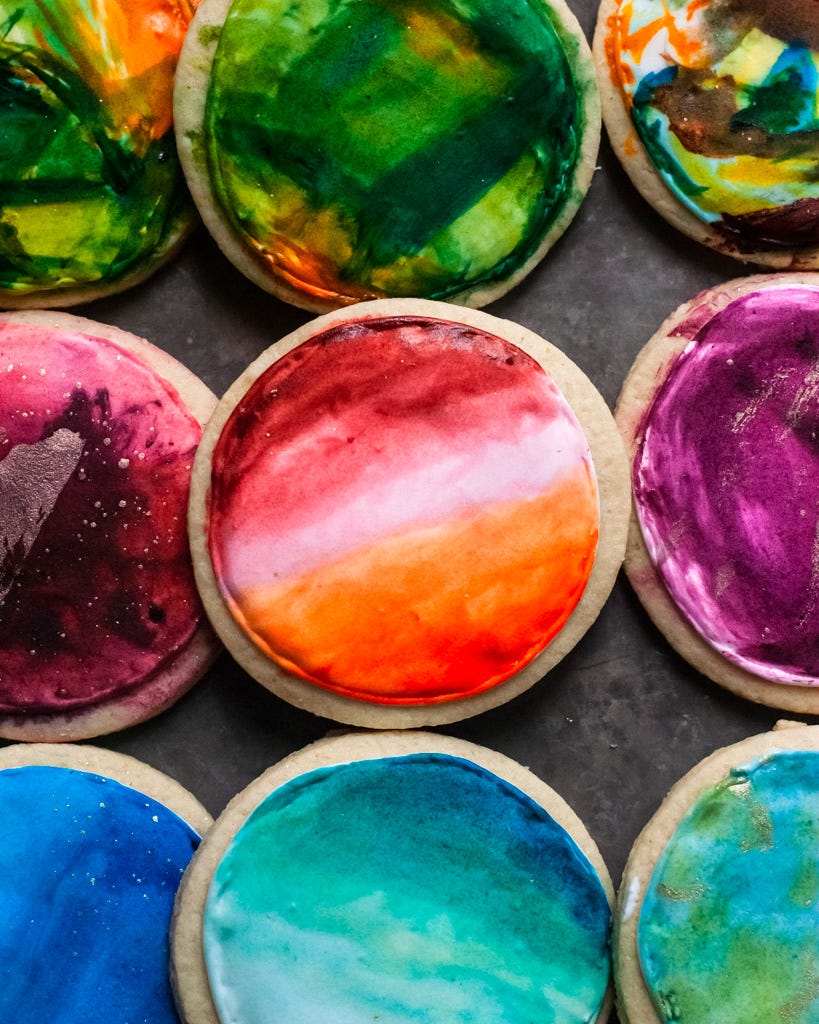
My latest crafty baking itch was iced sugar cookies. Now, I’ve scratched this particular itch enough to know not jump in too deep; so I nixed the idea of multiple icing colors and piping tips and decided to try an abstract watercolor route.
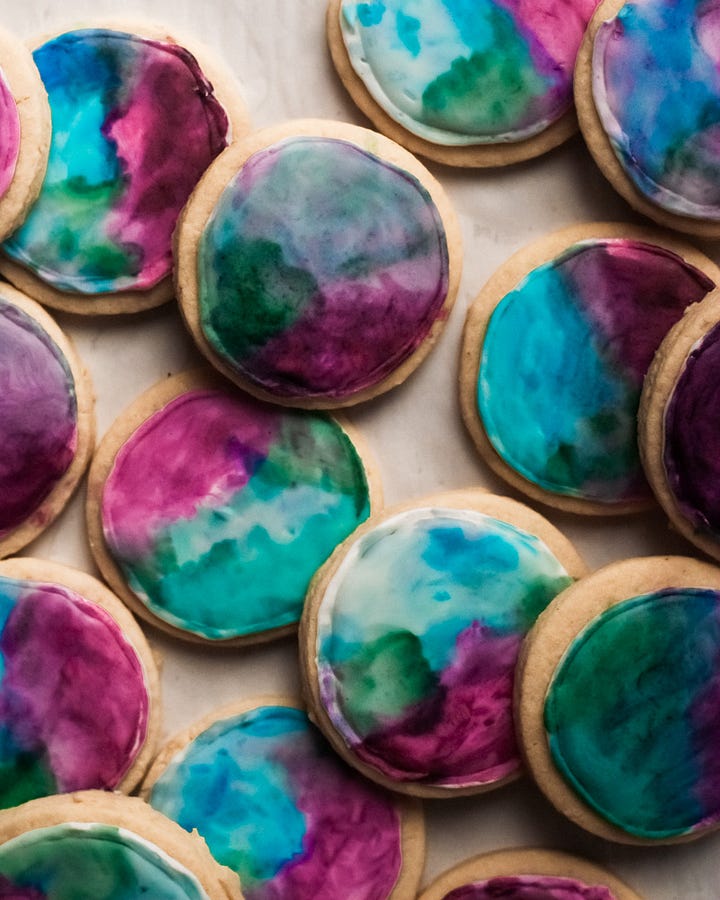
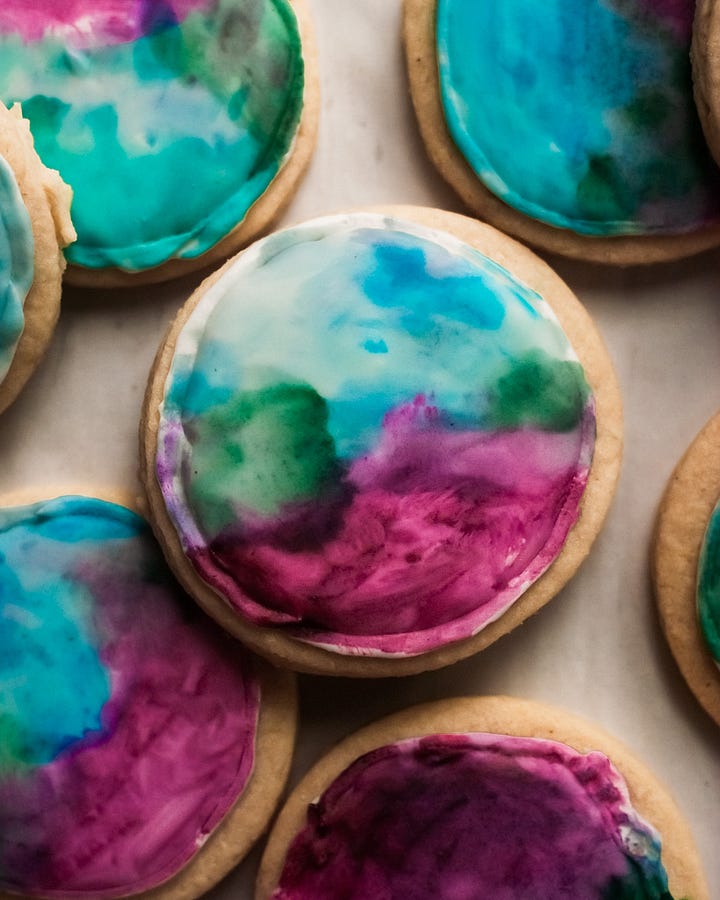
This was a no-kids project, done over a few evenings after they’d gone to bed. (I’ll elaborate more on this in the future, but it’s really important to me to separate baking I do with them and baking I do for personal recreation.)
And while my cookies weren’t fancy by any stretch (they were definitely rough around the edges; I am no royal icing whiz), I actually enjoyed the process and — shockingly — didn’t feel like abandoning ship after the first cookie. Crafty bake itch successfully scratched.
Upon seeing Mom’s little craft project, my kids immediately asked if they could eat one; and, between mouthfuls, asked when they could paint cookies. I told them they could help paint the next batch, whenever that happened. Honestly, given my timeline for crafty bakes, I didn’t think this would be anytime soon. I also figured they’d forget about the cookies once they’d finished eating them.
As you’ve probably guessed, they did not forget about the cookies. Instead, they started asking almost every day if I was making another batch. I tried to hold them off, I really did, but after nearly a month of asking they wore me down.
So this week, when they were out with their grandparents for the afternoon, I made the cookies. After they went to bed, I gave each cookie a blank royal icing canvas and let them dry overnight. And then we painted.
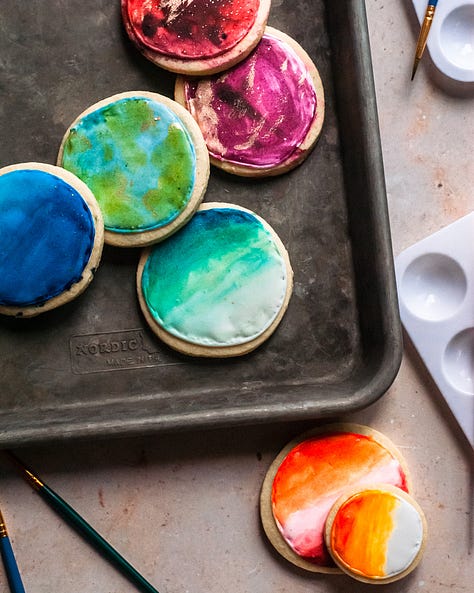
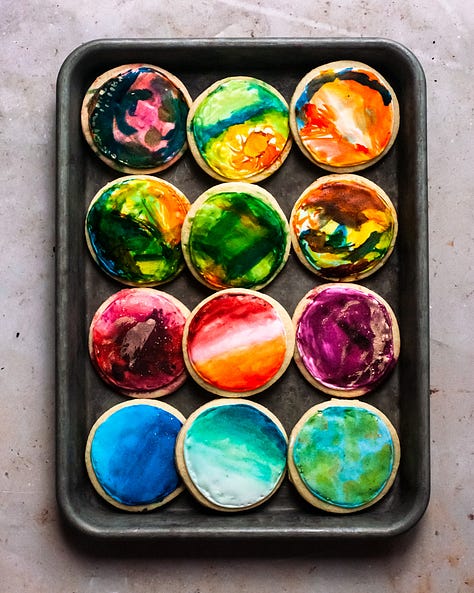
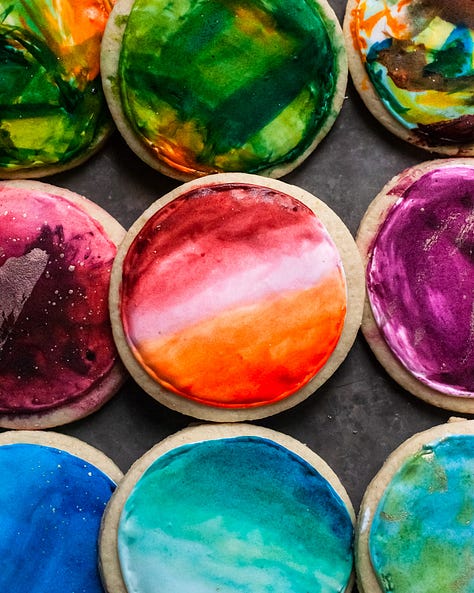
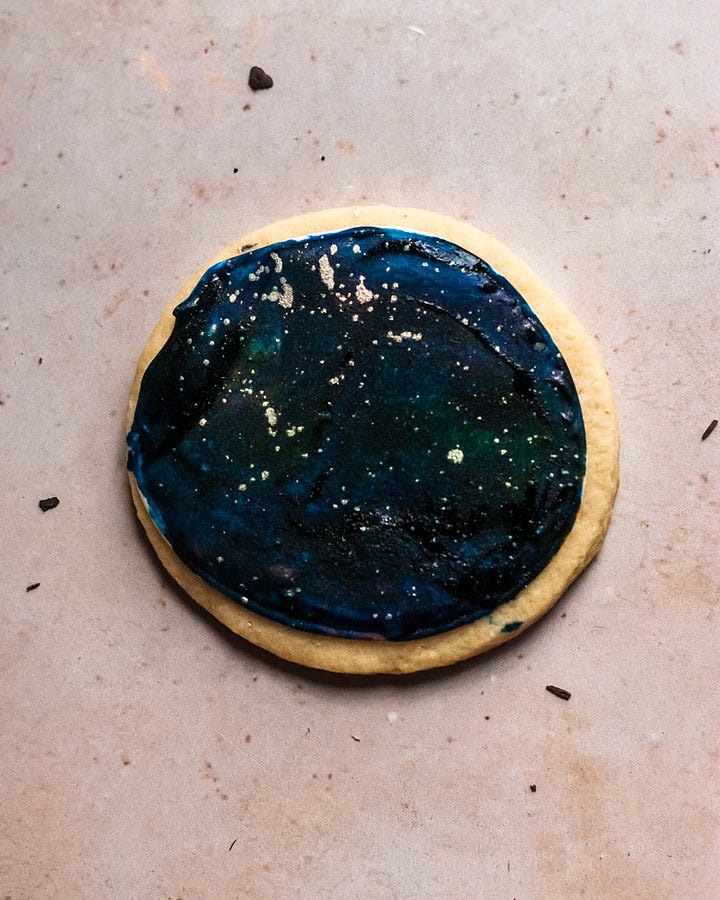
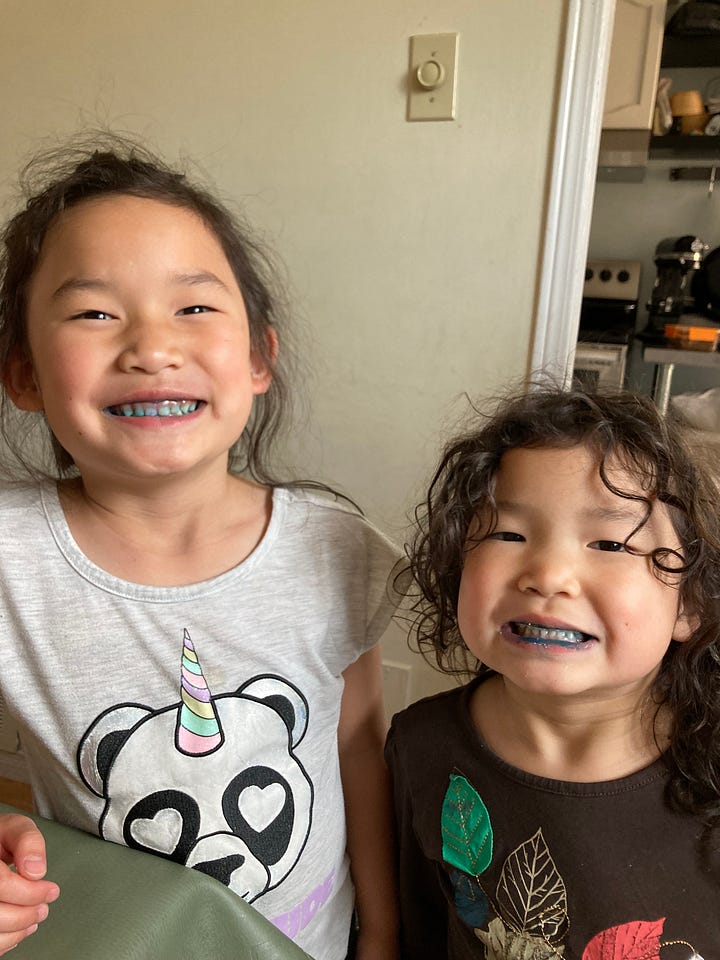
We all had fun. I didn't have to clean food coloring off the walls. The worst incident we had was when one of the kids mixed a few too many colors and, much to her chagrin, ended up with a black cookie. No biggie; we learned a few things about what happens when you mix colors and how to check the color on a napkin before going straight for the cookie. Then we flicked on some gold paint, called it a “night sky” cookie, and stained our teeth eating it before it was completely dry.
I think we will do this again.
Watercolor sugar cookies
Makes about sixteen 2 3/4 inch round cookies, plus a few extra small ones
Ingredients:
For the soft sugar cookies (adapted from Molly Yeh):
113g unsalted butter, room temperature
65g granulated sugar
40g powdered sugar
3/4 tsp kosher salt
1/2 tsp baking powder
1 large egg, room temperature
1 tsp vanilla extract
1/2 tsp almond extract (optional)
217g AP flour
75g almond flour
For the royal icing:
170g icing/powdered sugar, sifted
20g egg white (use pasteurized if you’d like)
Pinch of kosher salt
3/4 tsp lemon juice
More lemon juice/water as needed
For the painting:
Gel food coloring
Lemon extract or vodka (or any clear extract that’s mostly alcohol)
Method:
For the cookies: Preheat the oven to 350F with a rack in the middle. Line two large baking sheets with parchment paper.
In a stand mixer fitted with a paddle attachment (or in a large bowl using a hand mixer), beat the butter, sugars, salt, and baking powder together until smooth and lightened in color, 2-3 minutes. Scrape down the sides of the bowl. Add the egg and extracts and beat until combined.
In a small bowl, whisk the all purpose and almond flours together thoroughly. Add the dry ingredients to the wet ingredients and mix on low just until combined. Scrape down the sides of the bowl and beat for a few more seconds on low to ensure everything is well mixed.
Transfer half the dough (cover the remaining half to keep it from drying out) to a silicone mat or lightly floured surface and roll to a scant 1/2” thick. (I aim for a roughly 8” shape.) This is thicker than you might expect so check with a ruler! Cut out your desired shapes and transfer to the prepared tray. Repeat with the second half of the dough. Reroll the scraps once and cut out as many shapes as you can. Any remaining scraps can be baked off as they are (these offcuts are perfect for snacking or testing your icing/colors later!).
Bake the sheets one at a time for 10-13 minutes, rotating once halfway through baking. They should be matte and set on the edges, and — as Molly puts it — just thinking about starting to turn brown.
Cool completely before icing.
For the royal icing: Combine the icing sugar, egg white, salt, and 3/4 tsp lemon juice in the bowl of a stand mixer fitted with the paddle attachment. Stir to combine, then beat on low speed for about 5 minutes or until smooth and stiff.
Note: At this point, pro cookie icers will tell you to make two icing consistencies — one for outlining and one for flooding (i.e. filling in the outline). You can certainly do that if you want a more professional finish or have more patience than I do. I chose to make just a single consistency — a “10-count” icing, where if you drizzle the icing over itself it settles flat in ~10 seconds.
To do so, add lemon juice or water a teaspoon at a time, mixing well and checking the consistency before adding more as needed. Once you reach the desired consistency, transfer to a piping bag immediately.
To ice the cookies: Snip a small opening off the end of the piping bag and outline each cookie. Let dry for a few minutes, then make the opening in the piping bag slightly larger and fill in each cookie. Tap the bottom of the cookie on your palm a few times to encourage the icing to spread, then use a toothpick to nudge the icing to fill in any gaps.
Let iced cookies dry overnight, uncovered, before painting.
To paint the cookies: Note: Have paper towels nearby so you can check the color on your brush/absorb extra liquid! Put a little lemon extract or vodka into the well of a watercolor tray (you can also use a plate or small bowls but the trays are definitely easier if you’re doing this with kids!). Use a toothpick to add a *very small* amount of gel food coloring into the extract to achieve your desired color. For strong colors, you can also dip your brush directly in gel food coloring and start painting. (Your scrap cookies are perfect places to do some test runs.) Have fun!
Let cookies dry completely before eating (or else risk “night sky” teeth, see above). You can speed up the process by drying them in the lowest setting of your oven for about 20 minutes — I keep the oven on at 170F for 5 minutes, then turn the heat off and leave the cookies in there for another 15 without opening the oven door.
Currently baking: No-bake chocolate raspberry mousse bars are new on the blog, a perfect easy-fancy baking project! We also recently got an Ooni pizza oven so I have a batch of The Perfect Loaf’s sourdough pizza dough resting in the fridge now.
Currently reading:
, On recipe writing. Kennedy’s essays are always literal food for thought (On selling a lifestyle is another of my favorites), and her latest is no exception.


“...I actually enjoyed the process and — shockingly — didn’t feel like abandoning ship after the first cookie.” Ha ha ha... I can so relate! I do a lot of baking (and cooking) and I find cookies, esp decorated ones, too fiddly & exasperating and usually after the first couple am ready to jump ship. I now give myself permission to make 1 dozen or less.
I love how the Me-project turned into a family gig; my mom did all sorts of baking projects with me and cleaned up a few food coloring boo-boos along the way, too. I ended up in pastry school, so you just never know!