If there’s one pastry element I think all home bakers should take the time to learn, it’s pâte à choux. This unique twice-cooked dough forms the foundation for elegant eclairs, towering croquembuche, and luscious cream puffs. Fold in some cheese, you get gougeres. Boil it, boom — Parisian gnocchi. Fry it for light-as-air crullers. Magical!
I get the feeling that many people perceive pâte à choux as difficult to make. It’s not, truly. You don’t need special equipment or ingredients. You don’t even need to think ahead and bring ingredients to room temperature.
That being said, as I’ve baked more and more batches of choux over the years, I’ve collected my fair share of tricks. To encourage all of you to give choux a chance, here are my best tips for successful choux.
My pâte à choux rules
Weigh your ingredients. I know I’m preaching to the choir here. But if you want truly consistent results in your bakes, a scale is non-negotiable. Weigh your eggs as well. (My last batch of “large” eggs had a 10g difference from the smallest to the biggest!)
Cook your paste on the stove to 165-175F. The reason for cooking the liquid-butter-flour mixture on the stove is not to dry out the paste as much as possible so you can add more eggs. It is to swell and gelatinize the starch in the flour. This happens at a certain temperature, so if you have a digital probe thermometer, you don’t need to guess whether or not your paste is at the appropriate level of mashed-potato-ness. Actual timing depends on your pan, stove, and batch size; but for a small batch in a home kitchen, this typically happens within a minute for me.
Use cold eggs (small batch). While it sounds like a big baking no-no, I’ve found using cold eggs helps cool the dough down quickly, making it easier to pipe. Some may argue that a warmer dough will get you a better rise (because you will get steam in the oven faster) but I haven’t noticed a difference, especially with a small batch.
Pipe your puffs onto an overturned baking sheet (or use a rimless baking sheet). Even though I was pretty confident in my choux recipe and technique, I would occasionally get a concave puff (one where the bottom is collapsed inwards). I noticed this would happen with puffs in a corner of the sheet where there wasn’t as much room for proper heat circulation due to the rim of the baking sheet. So I started flipping my baking sheet over so that the air could circulate more evenly around all of the puffs on all sides. No more concave puffs!
Use cocoa powder and a round cookie cutter to create a piping guide. I shared this over on Instagram and people loved this tip! For evenly sized puffs, dip a round cookie cutter in cocoa powder and “mark” your circles on your prepared parchment-lined sheet. SO much faster than tracing circles! Click through to watch how it’s done at the beginning of this reel:
Start with a hot, hot, hot oven. Puffs need steam to rise. I’ve played around a lot with oven temperatures and for round puffs1, this is my preferred method: I preheat my oven (with a baking stone or steel in it) to 425F convection for at least half an hour. After loading the puffs into the oven, I keep the temperature at 425F convection for another 3 minutes (to help reheat the oven as fast as possible), then switch to 425F conventional for 7 minutes (leaving it on convection can cause the puffs to over-brown and set too fast). Then I turn the temperature down to 350F conventional for 15-20 minutes, or until very golden and light. I poke each of the puffs with a skewer and let them cool in the turned-off oven for 5 minutes, then transfer to a rack to cool completely. As always, everyone’s oven is different, so you may need to adjust for your own situation. But the general idea is to get the puffs to rise as much as possible before the crust sets, then bake them long enough to dry out without burning.
Croquant
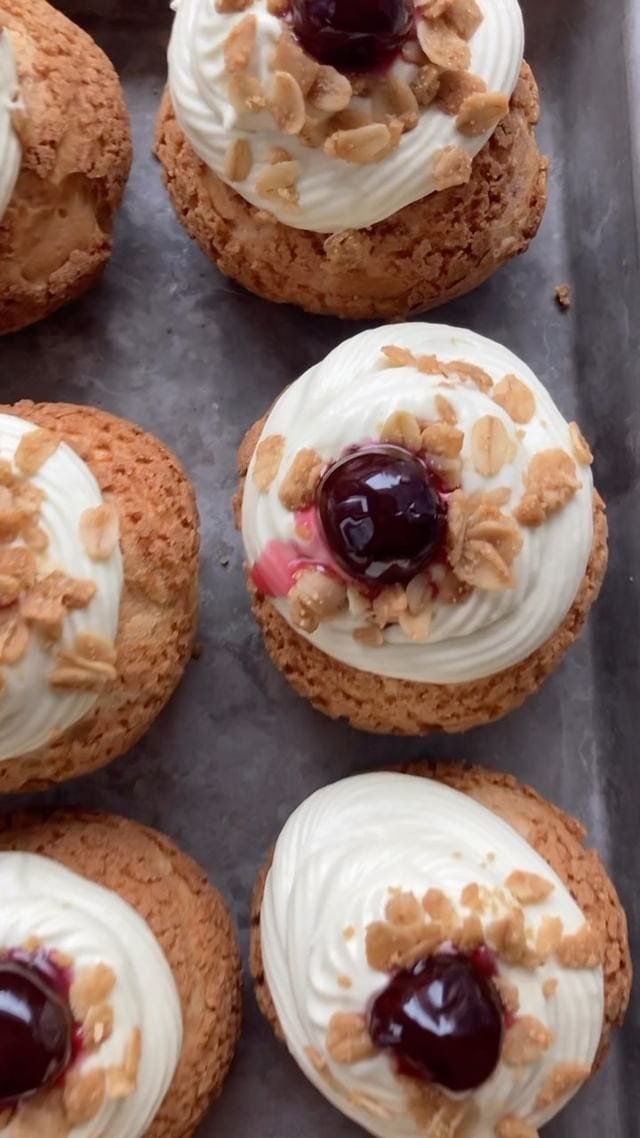
You can leave your puffs plain, giving them either an egg wash or dusting of icing sugar to help them brown in the oven. But many bakers (including myself) like adding a little extra element to provide crunch. Usually this is craquelin, a simple cookie dough rolled out very thinly then cut into rounds and placed on the choux buns before baking. The craquelin spreads and cracks during baking, giving each bun a crunchy, delicious shell.
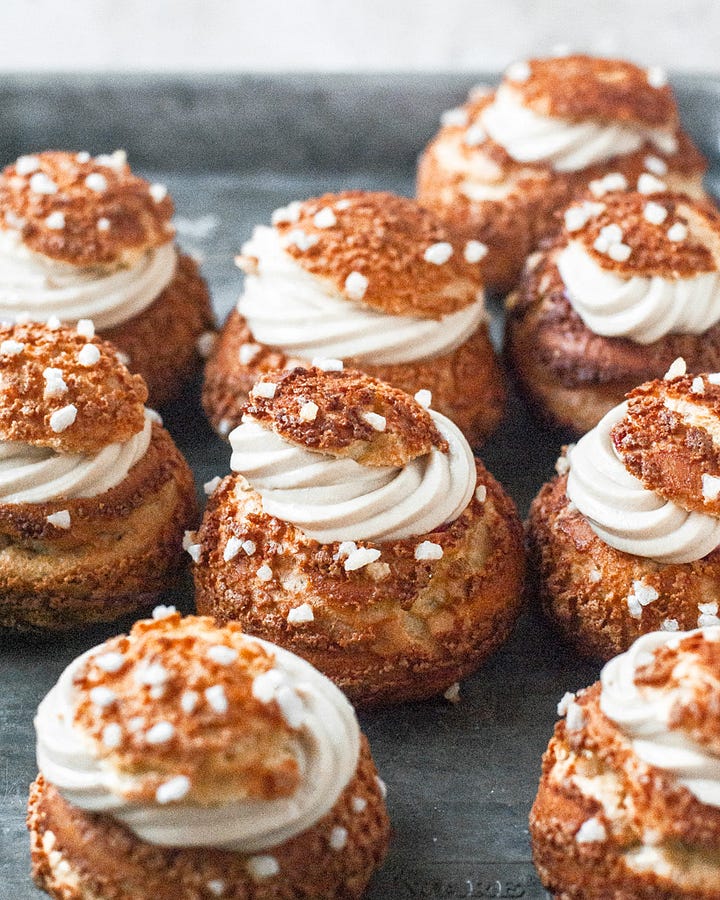
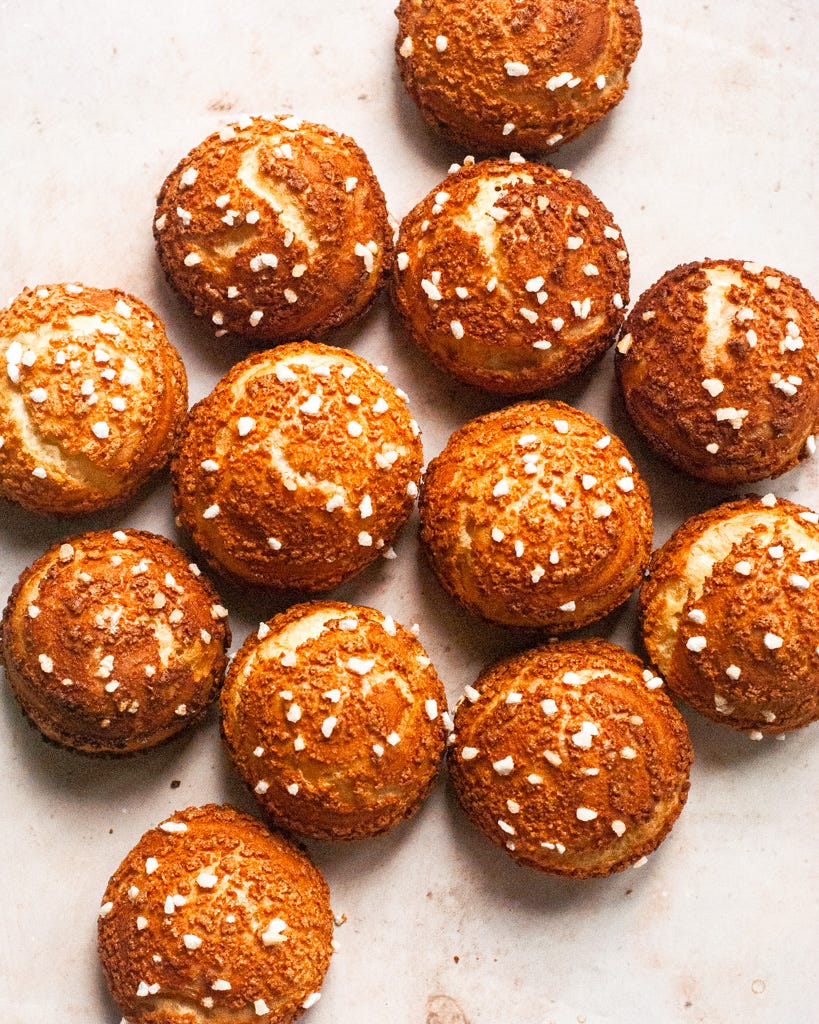
More recently, I’ve discovered another crunchy topping alternative — croquant! I don’t know where croquant in this context originated but I believe it was popularized by the Japanese bakery Zakuzaku. Croquant is basically a loose almond paste that is piped onto the buns before baking. You can then add other crunchy toppings — most commonly chopped almonds, but I opted for pearl sugar (kids’ preference). A big bonus is that it is SUPER quick and easy to make as you don’t have to roll and stamp out cookie dough.
Choux au Croquant
Makes 12 good-sized cream puffs
Ingredients:
For the croquant:
45g almond flour
45g icing sugar
30g egg white (about 1 large)
For the choux pastry:
50g water
50g whole milk
47g unsalted butter, cubed
3/4 tsp sugar
Scant 1/2 tsp kosher salt
67g all-purpose flour, sifted
100g eggs (about 2 large), lightly beaten (+/- 10g)
To finish:
Chopped almonds or pearl sugar
Method:
Make the croquant: In a small bowl, whisk together the almond flour and icing sugar. Add the egg white and stir together to form a thick paste. Transfer to a piping bag and refrigerate until ready to use.
Make the choux: Preheat the oven to 425F (convection if you have it; if not, conventional is fine) with a rack in the middle. Flip over a large baking sheet and line with parchment paper.
Combine the water, milk, butter, sugar, and salt in a medium saucepan. Bring to a strong simmer over medium heat, stirring occasionally. As soon as the mixture reaches a hard simmer, remove the pot from the heat and dump the flour in all at once. Stir vigorously with a wooden spoon or spatula until the flour is completely incorporated.
Return the pot to low heat. Continue stirring vigorously until the mixture clears the side of the pot and forms a ball and a thin film forms on the bottom of the pot and registers 165-175F on a digital thermometer, about 1-2 minutes. The dough should be stiff enough that if you stick a small spoon in it, the spoon remains upright. Immediately transfer the dough to a medium bowl to cool to no warmer than 140F.
Mix the dough on low speed for 1 to 2 minutes to release the steam. An instant-read thermometer should read no warmer than 140°F (60°C)—any hotter and you’ll cook the eggs when adding them!
When the dough has cooled sufficiently and with the mixer still on low, add about one-third of the beaten eggs in a slow, steady stream. Mix until the egg has been completely absorbed, then add more egg about 1 tbsp at a time, mixing each addition in completely before adding more. When you’ve added most of the egg and the dough has taken on a glossy sheen, check the dough consistency—a finger dragged through it should leave a trough with sides that don’t collapse, and a peak of dough should form where the finger is lifted. Once the dough passes this test, it’s ready. (100g egg is usually perfect for me, but you may need a little more or a little less depending on your flour. Batter that’s a little too stiff is better than too loose.)
Dab a smidge of choux batter on each corner of the parchment paper to help stick it to the baking sheet. Dip a 1 3/4” round cookie cutter in cocoa powder and mark out 12 rounds, leaving about 2” between each. Transfer the batter to a piping bag fitted with a large round piping tip. Holding the pastry bag vertically above the marked circles, Pipe mounds of choux on the prepared baking sheet. Use a damp finger to pat down any peaks on the buns to keep them from scorching in the oven. Pipe a spiral of croquant over the top of each bun and sprinkle generously with chopped almonds or pearl sugar. (Note: you’ll have quite a bit of croquant left, but this is about the smallest amount I’d want to make as it’s one egg white’s worth. You can refrigerate the leftovers and use it as a topping for other baked goods, like a snacking cake / quick bread / buns!)
Bake for 3 minutes on 425F convection, then switch the heat to 425F conventional and bake for 7 minutes more. Lower the heat to 350F conventional and bake another 15-20 minutes, or until the puffs are completely golden brown and feel hollow when you pick one up. (Do not open the oven for the first 20 minutes of baking, or the puffs may collapse.)
Once the puffs are done, use a skewer or small knife to poke a small hole in each puff to help them crisp. Turn the oven off, prop open the door, and allow to cool in the oven for about 5 to 10 minutes. Transfer to a wire rack to cool completely before filling and serving.


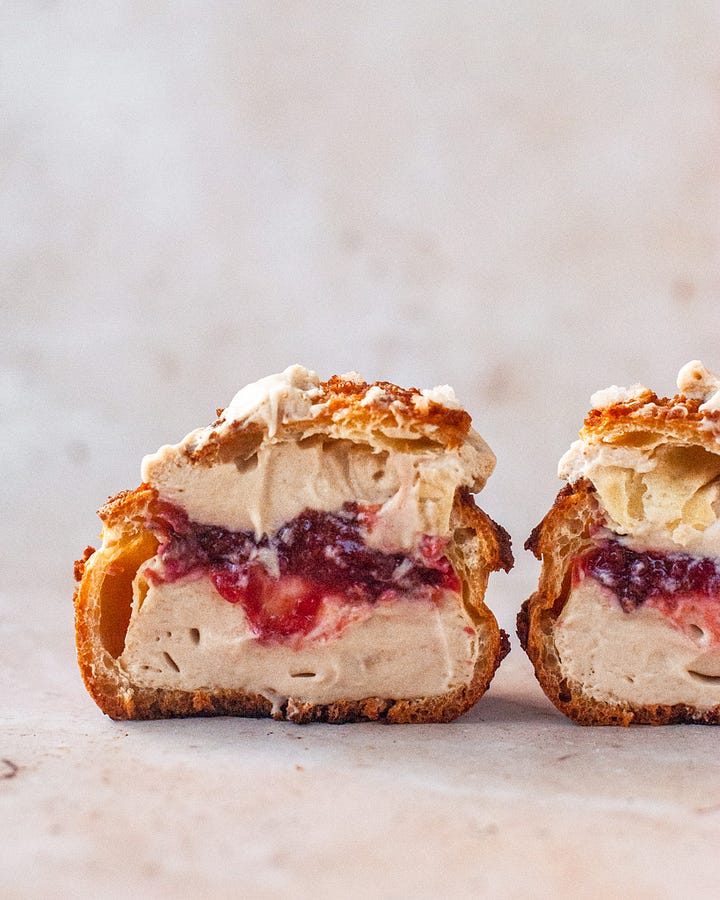
For paid subscribers, I’m sharing my recipes for a roasted plum compote and muscovado-sour cream cream legere, a beautifully seasonal way to fill your croquant choux. Paid subscribers receive access to bonus recipes and content and the full newsletter archives. Subscriptions directly support the making of this reader-funded newsletter by offsetting the costs of ingredients and the time spent testing and writing all the recipes. Thank you for your support!
Keep reading with a 7-day free trial
Subscribe to Cook Til Delicious to keep reading this post and get 7 days of free access to the full post archives.


