A birthday special
First things first — it’s my birthday weekend! To celebrate, I’m running a birthday special, with 20% off annual subscriptions (that’s $40 USD/year). If you find my work valuable and are able, would you consider upgrading to a paid subscription? Your support through paid subscriptions makes this newsletter possible by helping cover the cost of ingredients and the time spent testing and writing recipes. Paid subscribers also have access to all past and future recipes in the newsletter archive, and can participate in any chats and threads.
Thank you to everyone who has supported this newsletter in the past year and a half, making it a Substack Bestseller! At a time when there are so many publications vying for your attention, I truly appreciate you devoting some of that energy here.
Savory love
I love a good savory pastry for breakfast/brunch, my eyes always gravitating towards them every time I visit a bakery. While I’ve loved many of the savory laminated dough-based treats I’ve tried, I’ve never found a brioche-based one that truly blew my socks off.
So I made my own. They were worth every minute of work, because these may be one of my favorite bakes of the year — truly what I think a savory brioche pastry should be!
The base
For the bread portion of these tarts, I opted for an olive oil brioche. This is essentially the brioche from my book, but subbing olive oil for the butter. It’s rich but still light on the tongue, and so silky to handle! A couple tips for mixing the dough:
To incorporate the oil into the dough, I prefer to use the paddle attachment instead of the dough hook. This is a tip I’ve picked up from reading panetonne recipes, which incorporate a lot of liquid enrichments into dough. Especially for a smallish quantity of dough, the paddle can be more efficient in kneading all the dough equally. Sometimes the dough hook can just spin in the middle of the dough and it takes a lot of bowl scraping and squishing with your hands to incorporate the fat.
Start with cold eggs and milk. The dough will undergo a decent amount of mechanical force that will warm it up, so cold ingredients will keep it from overheating (as will the rest period before adding the fat).
The glue
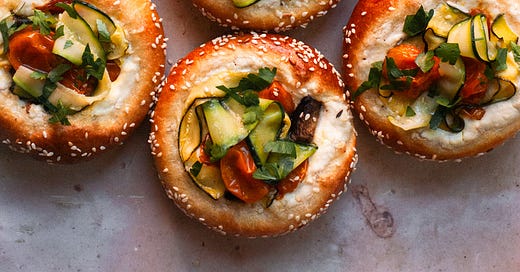
I’m a big fan of ricotta as a glue for tarts and galettes. It’s creamy but not too rich, and neutral enough to flavor however your heart desires. Here I’ve blended it with a lot of roasted garlic and a little lemon juice for a beautifully punchy base.
The veggies
Our garden is currently pumping out cherry tomatoes and zucchini, so that’s what I’ve used here (along with some mushrooms for texture and umami). Sub in whatever vegetables you have, but please please PLEASE treat and season them well. The vegetables I used all release a lot of water when cooked, so putting them raw onto unbaked bread would result in a soggy tart. No thanks! I opted to pre-roast my tomatoes and mushrooms, and to salt, drain, and marinate my zucchini to make sure they’d be flavorful as possible. Taste all your components before assembly and adjust the seasonings so everything sings to your liking. If anything tastes flat, a little salt or acid (lemon juice or vinegar) can help liven things up.
The finishing touches
For extra texture, I like sprinkling some sesame seeds on the exposed brioche before baking. I also hold back some of the veggies to add to the tart post-bake for color and a generous, “full” look. Have some fun and add whatever condiments might accentuate your veggies — a drizzle of hot honey, a spoonful of pesto, a few gratings of hard cheese. I kept it simple with some fresh herbs and flaky salt.
The construction
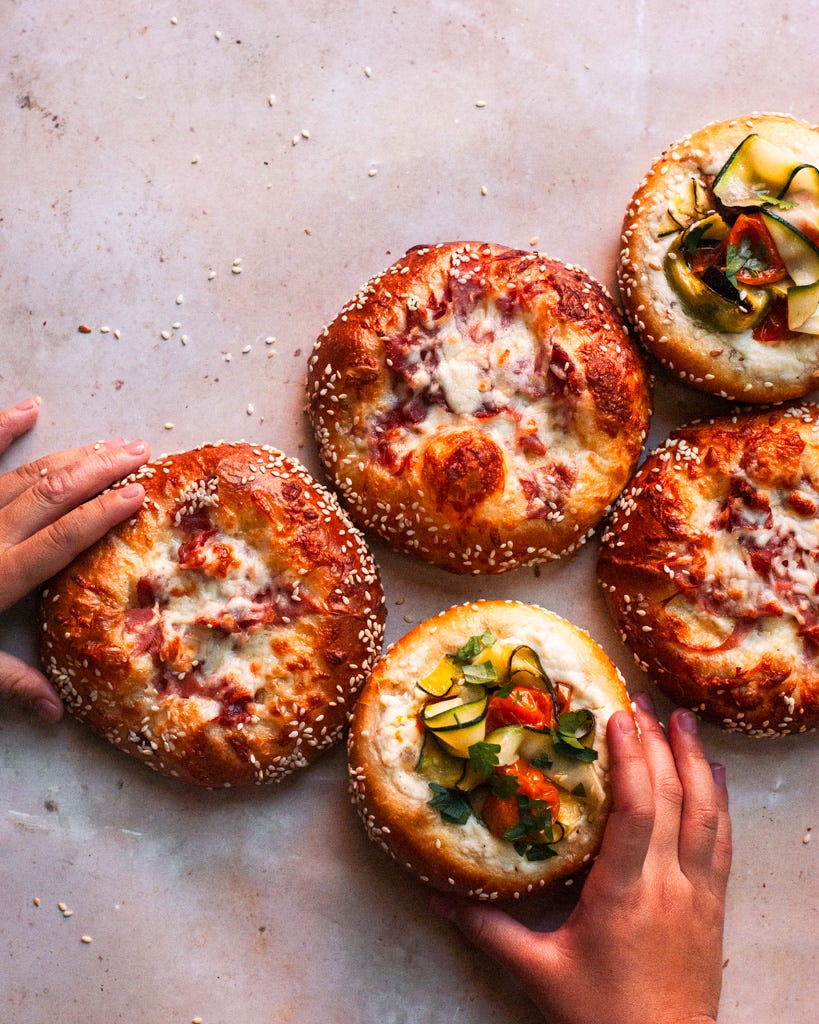
For the neatest shape and best filling-to-bread ratio, use a mold. This is something I learned while developing the sweet version of these pastries. I use these 4-inch tart rings, but have also made them in 4” loose-bottom tart pans similar to these. The mold’s structure helps the bun rise up rather than out, restricting the spread of the outer rim. This means you can get a bit of filling in each bite — the best! That being said, you can make these freeform; your buns will likely end up slightly flatter and wider with a thicker rim. Still delicious, though! You can see the difference in the photo below — the ham and cheese buns were made with the same quantity of dough, but constructed freeform.
Today’s recipe is available below for paid subscribers. To access the recipe as well as all 50+ recipes in the archive, consider upgrading to a paid subscription. Annual subscriptions are 20% off for a birthday special ($40/year), now through August 16th!
Summer Bounty Olive Oil Brioche Tarts
Makes 10 4” tarts
Keep reading with a 7-day free trial
Subscribe to Cook Til Delicious to keep reading this post and get 7 days of free access to the full post archives.


